Wayne Gretzky said “You miss 100% of the shots you don’t take” – he was referring of course to hockey, but this true for photography too. You never know what you can capture with your camera until you use it. Basically, the more you practice, the more you learn.
I just recently finished teaching a class for the Lone Star College Life-Long Learner Department and came to realize that photography is really not meant to be taught in a traditional classroom setting. Sure it can be – but it’s kind of like trying to teach science from a textbook only. Sure you can memorize all the terms, but where you really learn & begin to understand science is in a lab or out in the field. Same for photography – just imagine your learning lab is the whole entire world!!! But YES, you still need to read your camera manual (I wonder how many times I’ll say that :).
Learning to photograph anything is just best learned with a “hands-on approach”. But don’t just take your camera out in the world and just randomly click the shutter button. Instead shoot with a purpose – try to challenge yourself to see things in a different way and try to photograph the ordinary, everyday life things with a different perspective. Your challenge is to turn something “boring” into some interesting by conjuring up your artistic side.
Ask yourself a few questions: How could I make this interesting? How should I crop the scene? Do the colors and the lighting really set the mood of the image? What’s the best angle? Take your time, think about the best composition of the image you want to create, and then click! (SIDE NOTE: These rules don’t apply to walking or running babies or animals lol – in that case, just shoot, shoot, shoot! I’m kind of kidding – only a little:).
So today, I’ll give you one composition tip to get started:
The Rule of Thirds!
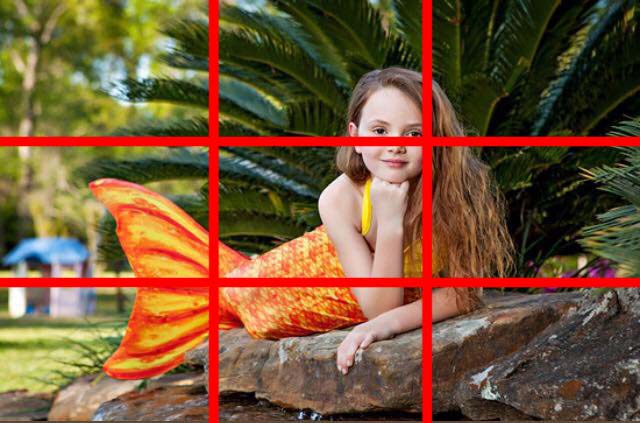
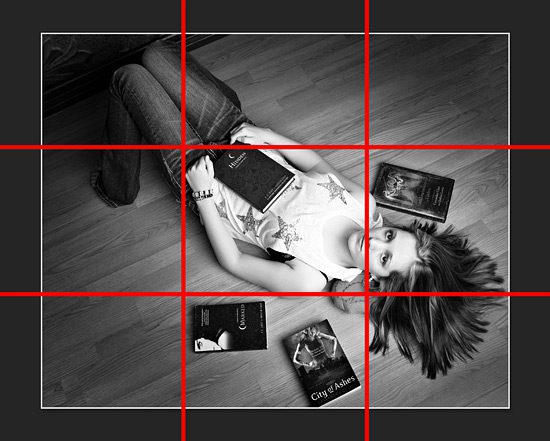
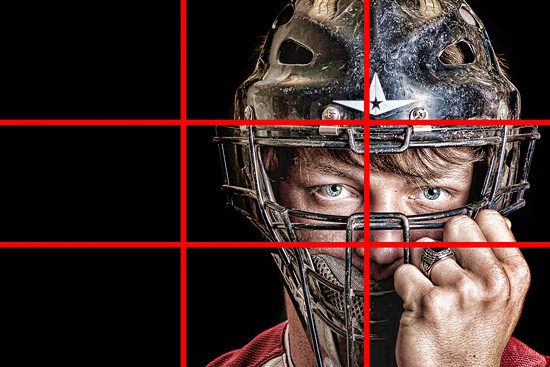
The rule of thirds is an artistic principle that goes back as far as the ancient Greeks and this is BIG DADDY of all composition rules (and usually the first taught in an art class)! Imagine the object and/or scene has a “tic-tac-toe” grid around it. The intersecting points (called saddle points) is where you really want to place the main subject of your image to make it more interesting and more pleasing to your eye. Take a look at the Mona Lisa and ask yourself where her face is??? If you look carefully you’ll notice that it’s in the top third of the image. I’m pretty sure this was no accident and Da Vinci did this on purpose.
Although these are no “Mona Lisa(s)”, here are a few images I’ve taken that demonstrate the rule of thirds.


Tip…Most camera phones and some traditional cameras have a grid you can turn on to help you “see” the rule of thirds better. READ YOUR MANUAL to find out how to turn it on:)
Until next time…