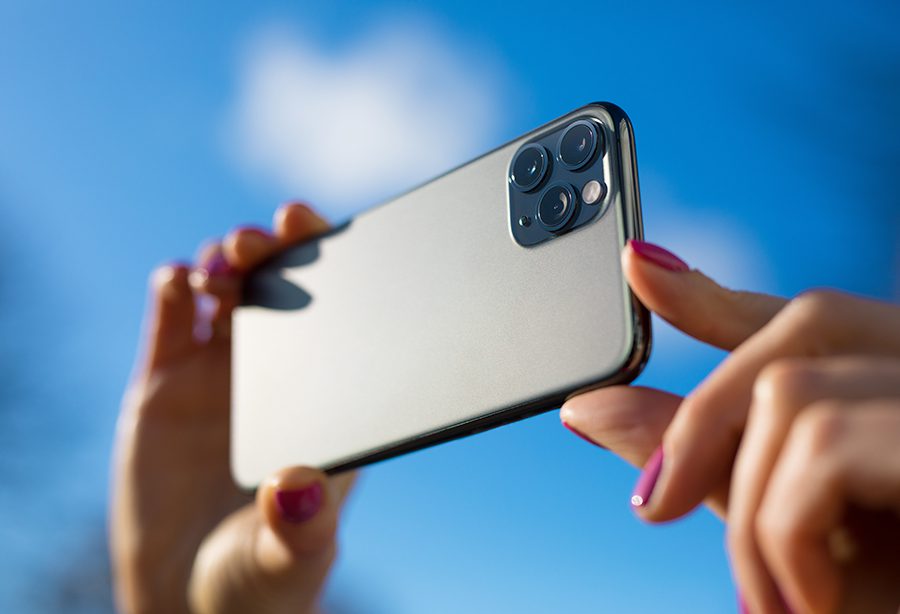
The best camera is the one you have and everyone carries around a camera in their pocket today (well, almost everyone). The smartphone camera, specifically the iPhone camera, has come a long way since its inception, and it can be one of the best cameras on the market depending on how you want to use it. It may not be these best for a complete, professional photography session or large wall portraits, but it is the best for creating and saving memories for years to come. Whether you’re a professional photographer or just someone who loves to take pictures, here are 10 tips to help you take better photos with your iPhone. Don’t have an iPhone – no worries – most of these tips apply to any smartphone.
- Use the Focus and Exposure Controls – The iPhone camera has a focus and exposure control that lets you tap on the part of the image you want to focus on and adjust the exposure separately. To use this feature, simply tap on the screen where you want to focus, and swipe up or down to adjust the exposure.
- Experiment with Portrait Mode – Portrait mode is a feature that blurs the background of your photos to give them a “professional” look. It’s perfect for portraits and close-up shots. To use it, simply swipe to the left until you see the portrait mode option and snap your photo. Extra tip – Portrait mode works best when you have plenty of soft, natural light.
- Use the True Tone Flash – The True Tone flash on the iPhone adjusts the color temperature of the flash to match the ambient light in the scene, resulting in more natural-looking flash photos. To turn it on, go to the control center (swipe down from the top left of the home screen), press and hold the brightness display adjustments, and then select “True Tone” to turn it off and on. It does tend to give images a look of a little more warmth, but personally, I prefer that over cool, blue-toned images.
- Take Advantage of Third-Party Camera Apps – There are many third-party camera apps available that offer additional features and settings not found in the default iPhone camera app. Some popular options include VSCO, Lightroom, and ProCamera. Experiment with different apps to find the one that works best for you.
- Use the Gridlines -The iPhone camera has gridlines that help you align your shots and apply the rule of thirds. To turn them on, go to Settings > Camera and turn on the “Grid” option.
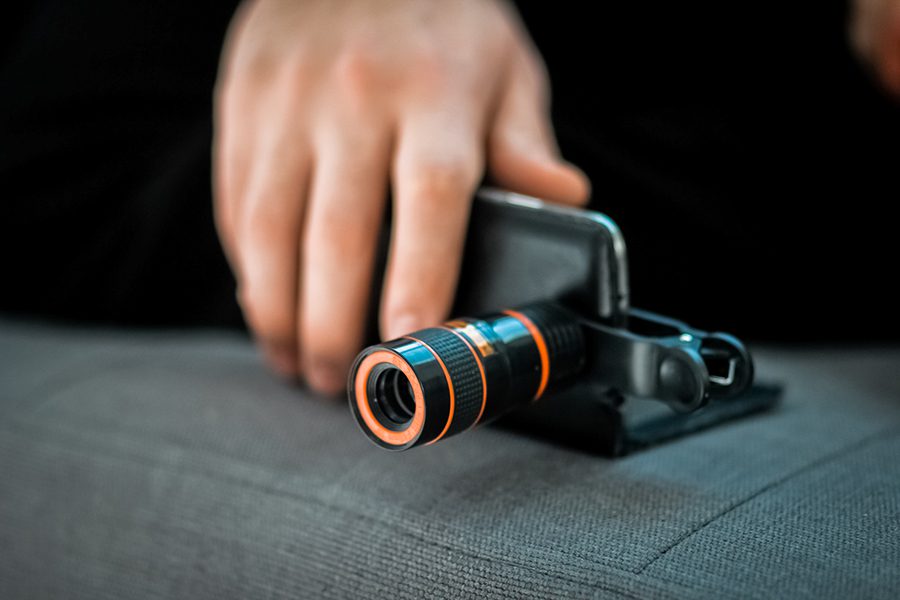
- Experiment with Different Lenses – There are several third-party lenses available for the iPhone that offer different perspectives and special effects. These lenses can be attached to your iPhone using a special case or a clip-on adapter. Try out different lenses to see what works best for you.
- Keep Your Lens Clean – A dirty lens (whether the iPhone lens or lens attachment) can ruin your photos, so make sure to keep your iPhone lens clean. Use a microfiber cloth or lens cleaning solution to remove any smudges or fingerprints.
- Use the Volume Buttons to Take Pictures – You can use the volume buttons on your iPhone to take photos, instead of tapping the screen. This is especially useful when taking photos with a tripod or stabilizer, as it minimizes camera shake.
- Edit Your Photos – The iPhone has a built-in photo editor that lets you make basic adjustments to your photos, such as cropping, straightening, and adjusting the brightness and contrast. For more advanced editing, try third-party photo editing apps like VSCO, Lightroom, and Snapseed (still my all-time iPhone editing app).
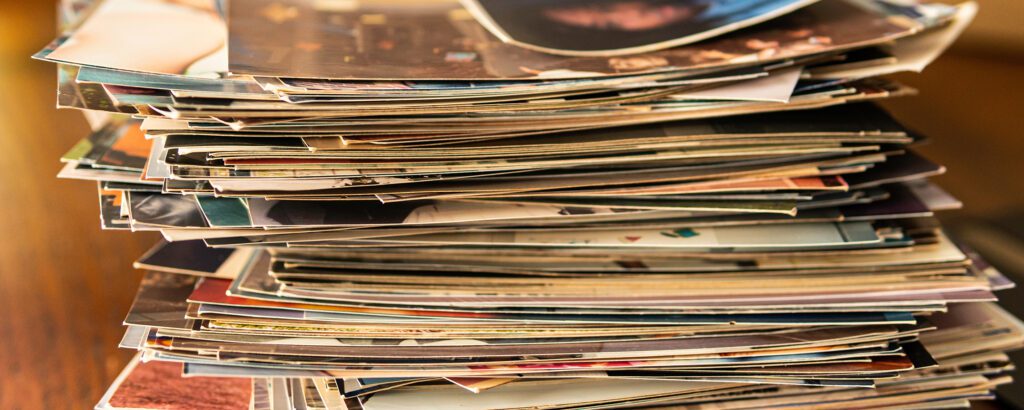
- Share Your Photos – Finally, don’t forget to share your photos! The iPhone has built-in options for sharing photos on social media, email, and text. You can also use Apple’s photo-sharing service, iCloud Photo Sharing, to share albums with friends and family. And don’t forget to print your memories – you can download an app from Mpix.com, upload your images, and have prints delivered directly to your home. Can’t get any easier than that!
Experiment and play with different settings, techniques, angles, and editing apps to find the combination that works best for you. Photography is a practice – the more you shoot, the better you get.
Happy shooting!