So you got a new fancy camera for Christmas — that’s great! Or maybe you’ve had your camera for some time and just never took the time to learn to use it. Have no fear…I’m going to help. Awhile back I started posting “Tips on Tuesday” and tried to give a few helpful tips along the way (I think the bulk of the originals are gone due to the gremlins who ate my website a couple of years ago though). I’ve also taught a few “Basics for Beginners” photography classes here and there & I get asked questions about cameras (how to use it, the best one to get, etc., etc.) ALL THE TIME! So I’m starting over here with “Tips on Tuesday” and my goal is to help you learn to WORK YOUR CAMERA.
Most of the tips can be applied to any “advanced point and shoot” or DSLR camera. But a lot will apply to any camera whether it be an iPhone camera or a “simple point and shoot”. By the way…if you happen to be in the market for a good camera don’t fall into the trap that the most expensive is the best. An expensive DSLR is no better than a mid-range Point & Camera unless you really have the time to understand and learn to work it. And by the way…here’s a link to my camera of choice for personal uses – Canon G series. I currently have an older version (G12), but looking to upgrade very, very soon (I’m leaning towards the G16). I once wrote a very lengthy blog post on why this type of camera for my personal use (and why I recommend this camera to most people who want a “better” camera), but I just checked and it’s gone from the blog (darn gremlins). I’ll add that to my list to rewrite it soon, but in short this camera can do everything most people really want and need for personal uses. And it’s small enough that you WILL actually carry it along with you.
One important thing to remember is that a better camera will not make your photos better. Good photography comes from what’s in between your ears rather this what you hold in your hand. So start with the camera you have right now!!!
“A good photo is knowing where to stand.” ~Ansel Adams
My first piece of advice to anyone who “wants to take better pictures” is to understand how your camera works. READ THE MANUAL! I know it’s boring, but how else will you ever learn all your camera functions??? Not all cameras are created equally. For the first of this tutorial, I’m going to briefly explain what all the little icons mean on the camera dial. My goal is to get you off the “green box”!!! If you have a camera that cost more than a few hundred dollars and are using the “green box” mode (aka automatic)… You have wasted your money! REALLY! Your iPhone can do just as a good job. Again these will be very short descriptions. To learn more about each…READ THE MANUAL:)
1 Automatic – the green box (or some an oval). Basically you point the camera, click the shutter button, and BAM you’re done. No thinking required – the camera does all the thinking for you. Great for snapshots and candids of this and that. Do I ever use green mode? Yes, but only on my point and shoot. And only when I really don’t want to think about my settings or don’t have the time (sometimes you just have to capture the moment). Never, ever on my DSLR, NEVER! One thing about shooting on automatic is that sometimes your camera can get it right and sometimes NOT. But you get the point…all you do is point on the green mode. Nothing else to say on this.
2. Program mode – I’m not going to spend much time here because basically it’s not much different than automatic mode. While you do have a little more control (very little), the camera really controls everything for the most part. There are a few tricks to learn for program mode that I’ll get to later, but I promise you have other options for a lot more control. I never use this mode (goes for both the point & shoot and my professional camera). And by the way…program mode is sometimes called “P-mode” — P-mode DOES NOT stand for “Professional Mode”.:)
3. Shutter Priority (shortened to Tv on your camera dial) – in short, you set the shutter speed of your choice and the camera sets the aperture. What’s shutter speed and aperture? Read your manual he-he:) Kidding, but not kidding really – you need to know these terms. But I will cover them as we go. Rarely do I use this mode – probably more so on my point & shoot.
4. Aperture – This is one of my favorite modes to use when I work outdoors – using this mode helps me to achieve a certain look I want. Basically it does the opposite of shutter priority. In this mode, you set the aperture (the opening of your lens) and the camera sets the shutter speed. We’ll get to the reasons why you’d want to control your aperture and/or shutter speed later.
5. Manual – My absolute favorite! More thinking is involved here, but this mode really lets you be in complete control and be creative on your terms. I use this mode 100% of the time in the studio and about 95% of the time when working with flash outside (the other 5% is in aperture mode using natural light only for the most part).
6. Bulb and scene modes – just for now I’m going to skip over these. Most point and shoot cameras have special scene modes and some consumer DSLRs (have both). But I’ll get to them later down the road.
So your homework for now is to READ THE MANUAL! At the very least, read your manual to find out what camera modes and/or scenes your camera has. And then practice photographing one object on the different modes. Try to see if you can make a decent image on each mode (you’ll probably have to read that manual if you don’t know how to change your settings:). But just try – don’t get discouraged. In the next week or two, I’ll go into more detail on aperture and shutter speed.
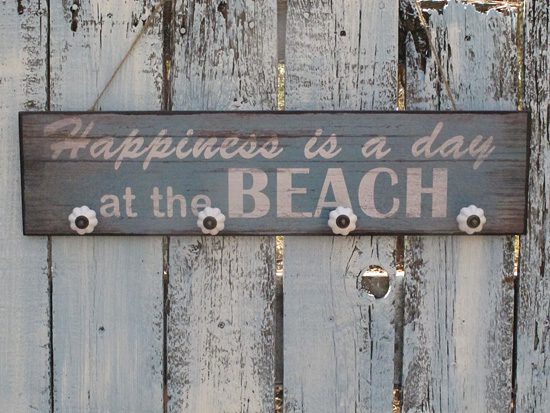
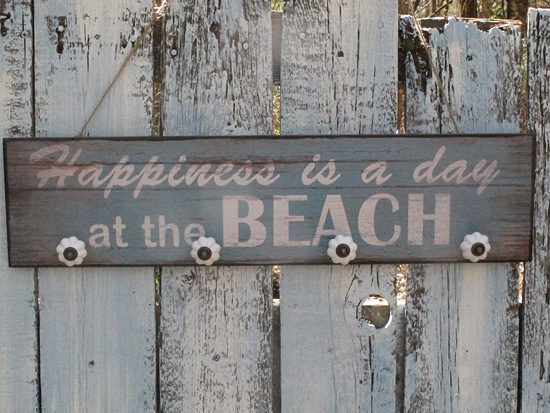
Here is a quick example of one object taken at the 5 different modes I went over above:
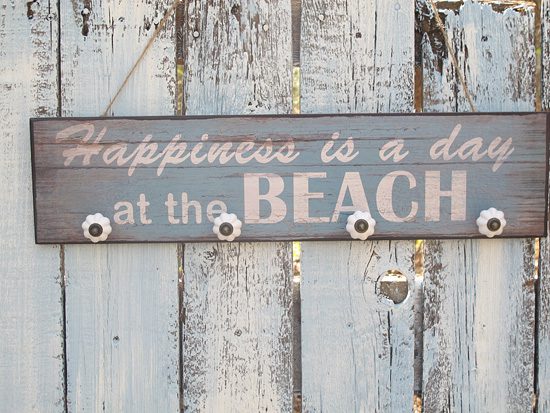
Automatic Mode

Program Mode
Shutter Priority (Tv) Mode
Aperture Priority (Av)
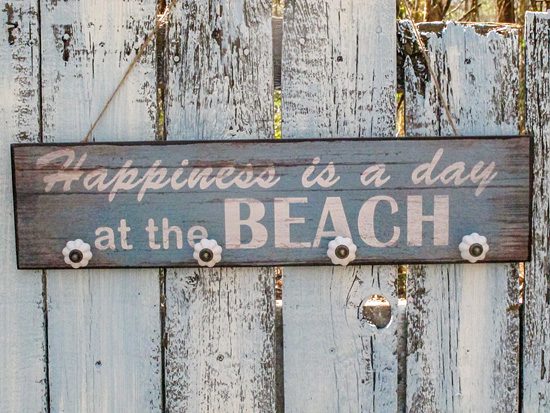
Manual Mode