So just a short recap of what I’ve covered in the last few blog posts:
- Make a list and gather those gadgets. (read more)
- Set up a photo hub and create a backup plan. (read more)
Now on to the fun stuff!

Transfer Your Images
What we’re going to do next is start transferring all your images to your new, centralized photo hub. I want to be very clear here … DO NOT DELETE your images from their original home. DO NOT CUT & PASTE! You can copy and paste, just be sure to keep the original images intact until you are 100% sure that they are backed up safely. PLEASE, PLEASE, PLEASE back them up.
Before you start copying the images over, make a folder on your photo hub drive and name it “To Sort”.
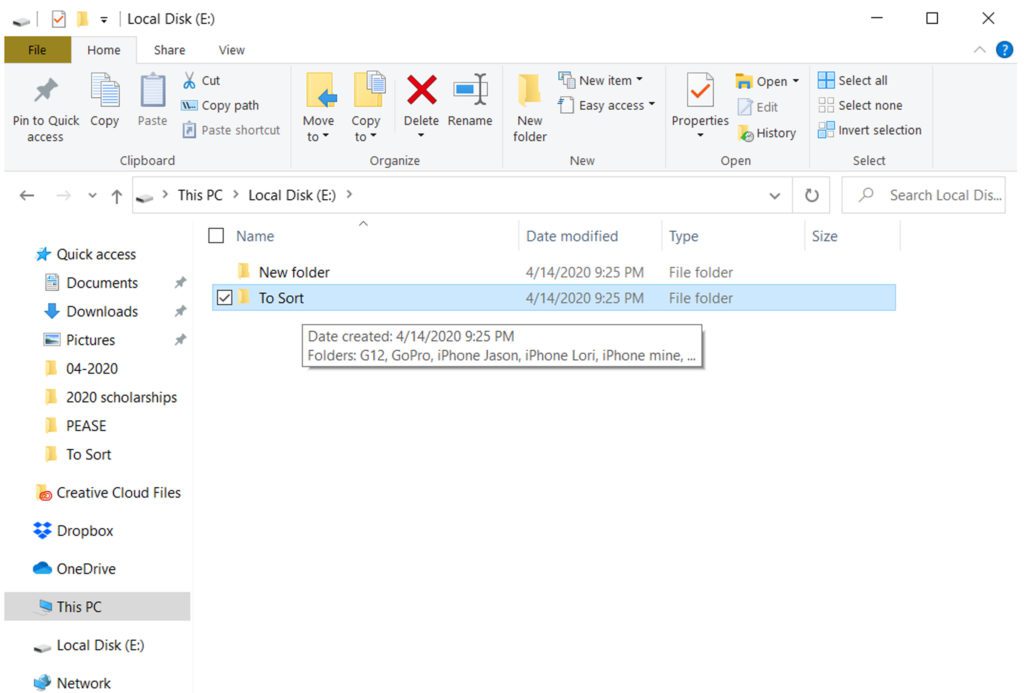
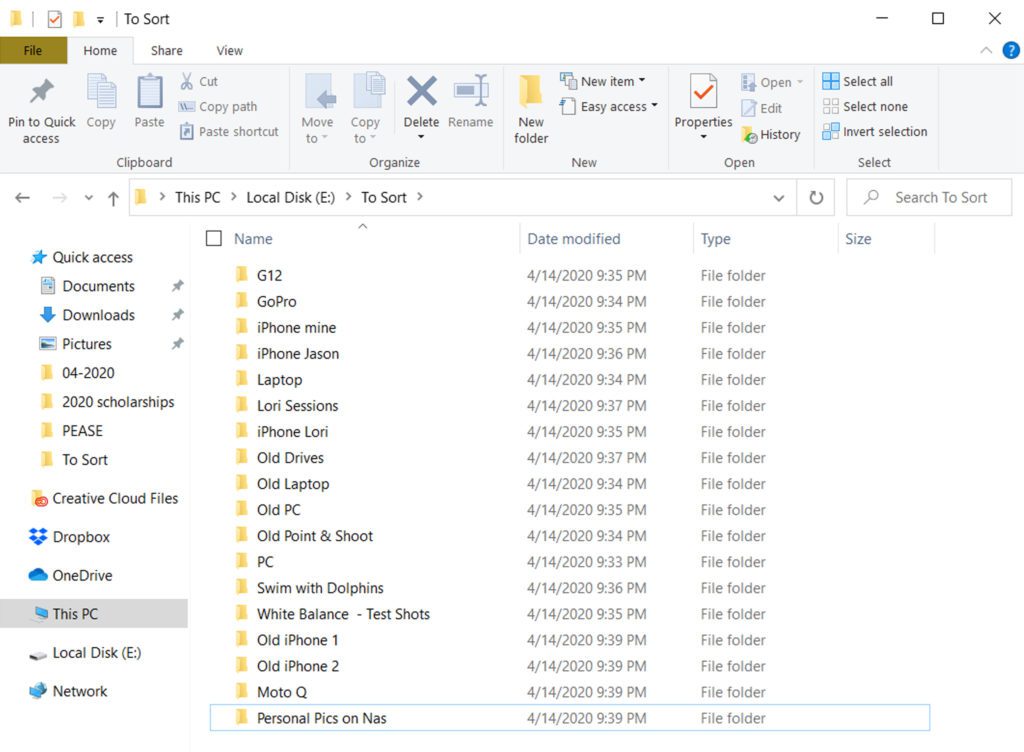
This is where you want to copy your images over to. You’ll also want to make a new folder for every gadget (thumb drive, card, disc, etc.) so that you know what goes where – these subfolders should go inside your “to sort” folder”. Below is an example of what I’m working on sorting now.
So get going and start copying your images over one by one (gadget by gadget – into the “To Sort” folder and their respective subfolders). Depending on how many you have, it could take a little while. Just be patient. If this takes a little while (and may depending on the size), just walk away and do something else. There’s nothing worse than sitting at a computer waiting for it to do its job – trust me, staring at a computer screen doesn’t make it go any faster.
I know you probably want to start looking at your images and re-living a time pre-COVID19 when we could go where we wanted any time of day (hehe – had to throw a little COVID in there), but DON’T. Not just yet – if you let yourself take a stroll down memory lane now you may end up lost and never return. Just focus on COPY & PASTE for now.
Once you’ve finished copying the images, you can then go on to the next part of this post. Also, be sure to refer back to the list you made in part one. Cross off as you go. It feels good to cross things off a list, doesn’t it 😊?
Set Up Your System
At this point, all of the images you transferred should be in the “To Sort” folder (and folders within folders nestled inside of each set of pictures you copied). But before you start sorting, you need to set up your photo hub catalog system.
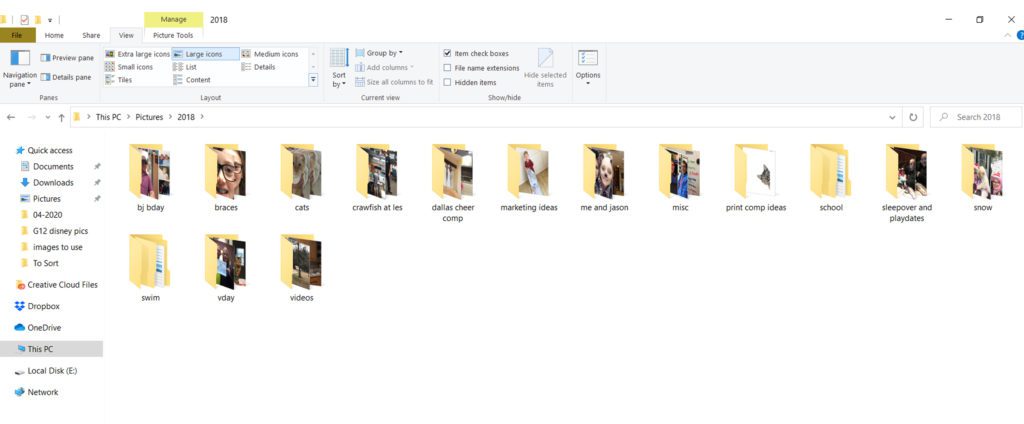
What I mean by this, is you need to decide how you want to organize your digital folders. There are a few options here: you could organize by year, by month, by event, by subject, etc. There is no right or wrong here, just whichever way feels best for you. For my own personal photos, I first sort them by year and then by event. So for example…
You might want to also make a “MISC” folder. These are for the images when you are not exactly sure what year or what event the picture was taken at. Or you’re not sure if you even want to save the image. Most smartphones will have this info (exact term is called METADATA) automatically embedded in the image. But if you are using a not-so-smart camera and never got around to changing the date and time settings (no shame here), then you might have a little problem remembering when the picture was actually taken. No worries – as you sort through your images, you’ll more than likely run across clues that will help you determine when and where. Remember this is YOUR system. As you start to sort your images by year, event, or however you decide…if you think “nope, I don’t like this”…then change it. Just be sure to do it the same way for every group or you’ll end up with a crazy, broken system.
Quick Sort
Okay, so you have your system set up and you know how you want to organize. You’re are ready to start sorting!!! Move your images from your “To Sort” folder over to the new folders you created in your system. Right now is not the time to start deciding the keepers from the junk. Just do a quick sort and get everything moved over to their new home.
In a future post, I’ll tell you about a few different programs that can make this part easier. If you can’t wait – google it (just search photo organizing software). But if you don’t mind waiting, just start sorting the old-fashioned way. I like to have two windows open (the “to sort” and the folder I’m moving them over to). Just drag and drop – and it’s okay to drag and drop here because you’re just moving them from one spot on your hard drive to another.
Remember this can be a slow process and probably won’t be able to be finished in a day. That’s okay, just give your self a little time every day and before you know you’ll be ready for the next step. For now, just focus on sorting the images into their new home where they belong (correct year/event or whatever works best for you).

Happy Sorting!